
Final Fantasy 14’s 6.3 update adds a new dungeon to the game, Lapis Manalis. Whether you’re a Sprout trying to learn boss mechanics or a first-time tank worried you’ll mess up your dungeon runs, this guide will teach you how to deal with all of Lapis Manalis’ three bosses.
Of course, this guide does contain spoilers for the fight, so consider yourself warned. Also, we won’t be going over trash pulls in this guide as there aren’t any mechanics worth noting between bosses.
Final Fantasy 14: Lapis Manalis Dungeon Guide

Boss 1: Albion
Albion’s Embrace: Tankbuster. Heal and mitigate as necessary.
Call of the Mountain: Albion summons various animals and monsters from one side of the arena that stampede across to the other side in a line. You can tell where the animals will come from by looking for a cloud of snow. The stampede happens twice and lasts for quite a while, which can effectively split the arena for an extended period of time. Getting hit by the stampede will deal damage and leave behind a nasty debuff (which can be Esuna’d).
Left Slam/Right Slam: Albion cleaves one side of the arena relative to where it’s facing. Just stand on the other side and you’ll be fine. This move may be cast during Call of the Mountain, so don’t stay too far left or right of Albion and you should be able to adjust on the fly.
Knock on Ice: Albion creates three mounds of ice around the arena, damaging anyone near the mounds when formed. Move away from the AoE markers.
Icebreaker: Albion targets one of the three mounds and leaps toward it, causing the mound and creating an AoE centered around where it lands. Find which ice mound Albion is targeting (a tether and target marker will appear on the mound) and run away from it. Albion then tosses ice into the air, with each player getting a targeted AoE as random circle AoEs appear on the ground. Dodge the circle AoEs and avoid other players as all of these AoEs go off at the same time. After the initial explosion, each player will leave behind another circle AoE centered around them. Walk out of these AoEs.
Roar of Albion: An arena-wide AoE that can only be dodged by hiding behind an ice mound. This is cast after the circle AoEs from Icebreaker. Once all players’ targeted AoEs go off, run to the nearest ice mound and have it stand between you and Albion to block the roar.

Boss 2: Galatea Magna
Waxing/Waning Cycle: A 2-part AoE combo that differs depending on the name of the cast. Waxing Cycle starts off with an AoE centered around Galatea and is then immediately followed up by a large donut AoE. Waning Cycle does this in reverse, with a donut AoE first followed by a boss-centered AoE. For either cycle, simply move into the danger zone from the first AoE right after the marker disappears. You won’t get hit and you’ll dodge the second part of the attack.
Soul Scythe: Galatea leaps toward one side of the arena and creates a large circle AoE. When Galatea casts Soul Scythe, look at where she’s facing as she will leap in that direction. Move to the opposite side and you’re good.
Soul Nebula: Partywide damage. Heal and mitigate as necessary. This leaves behind Hellsgates that will be used in a follow-up mechanic, Scarecrow Chase.
Scarecrow Chase: Galatea will blink to all present Hellsgates in the order indicated by the circles above each Hellsgate. She will cast an X-shaped AoE whenever she blinks to a Hellsgate. You will need to avoid all X-shaped AoEs by positioning yourself in advance.
Scarecrow Chase is a lot easier once you know where to stand. For the first Scarecrow Chase, you can stand at the center of the arena and you won’t be hit by either AoE. The second Scarecrow Chase is a little more difficult, as the order is random, but keep in mind that once the center Hellsgate disappears, that area’s completely safe, so you can move in there for the rest of the mechanic.
Tenebrism: Each player will receive a debuff that petrifies any player looking at them when it expires. As the debuff counts down, you will need to soak four AoEs (often referred to as Towers or Meteors). Not soaking these AoEs will cause extra damage to the entire party. Each player must soak one AoE each, after which they must look away from one another to avoid each other’s gazes.
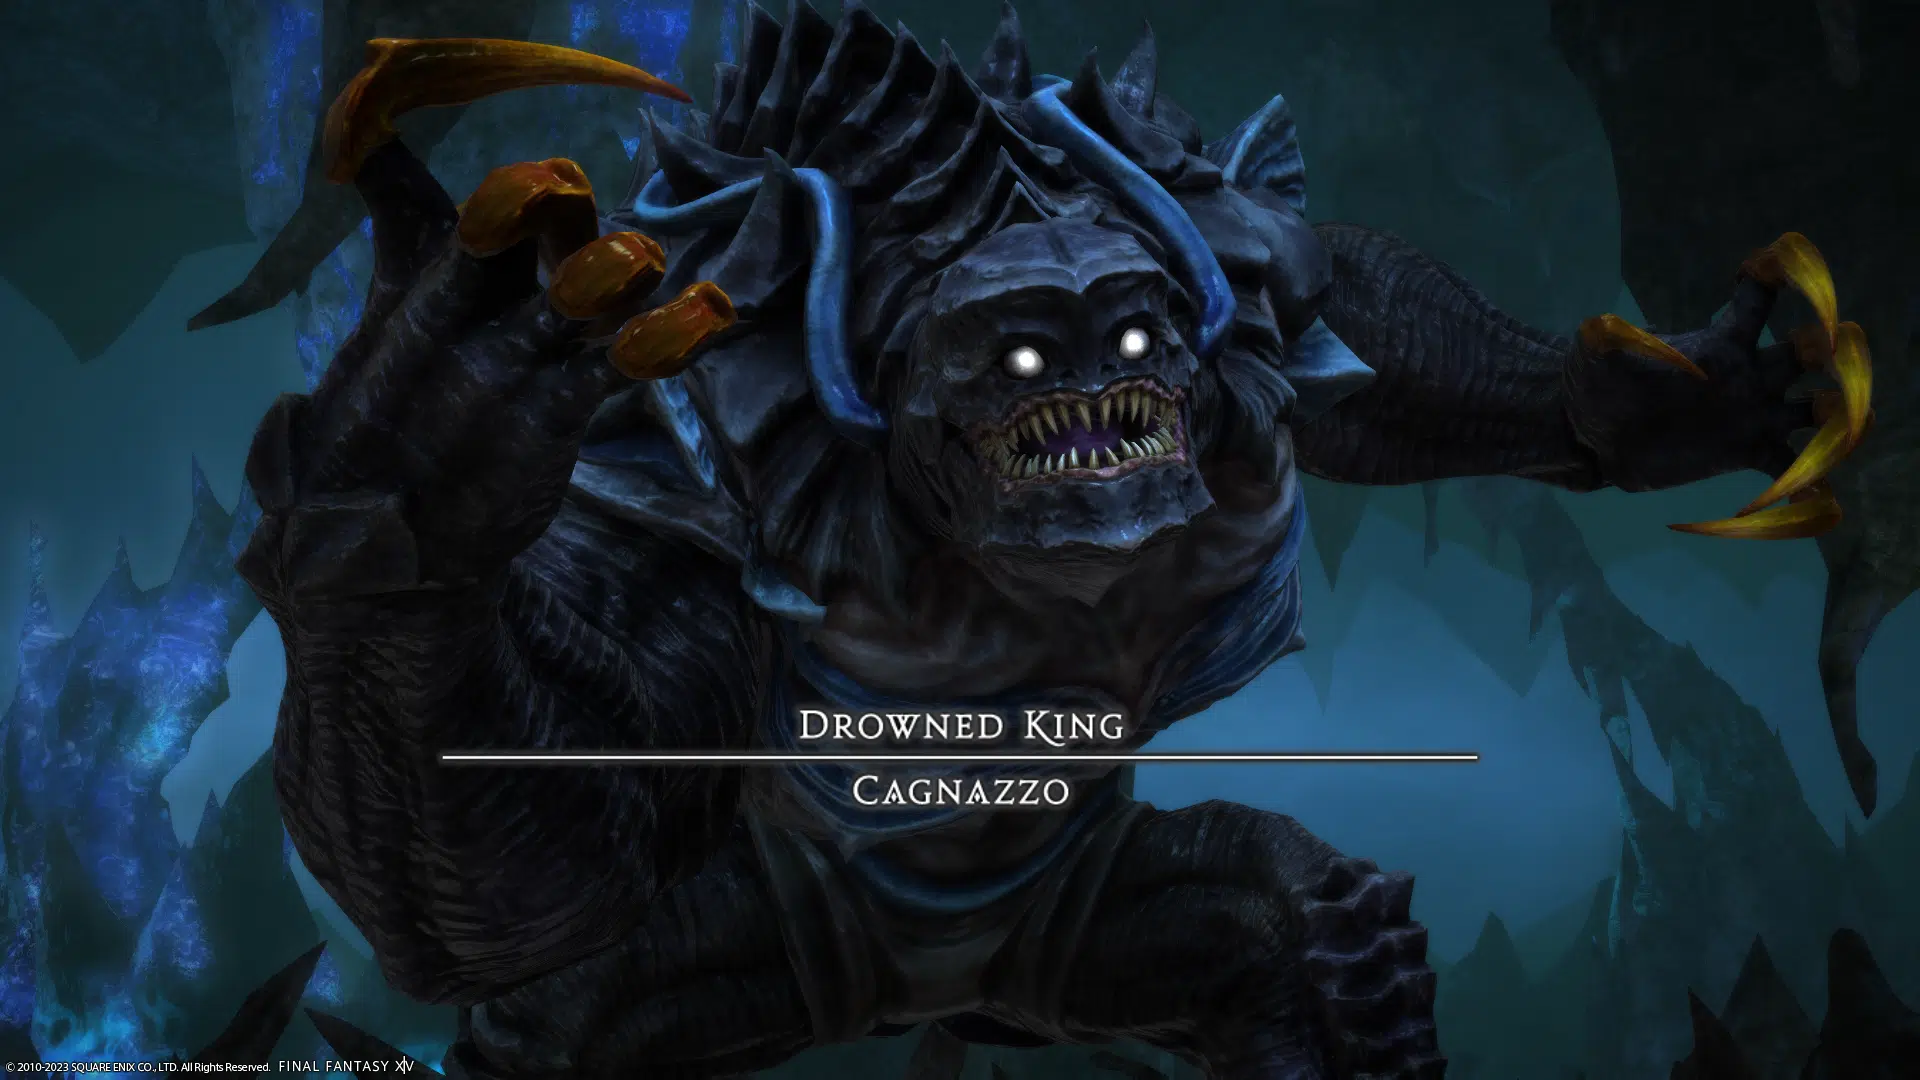
Boss 3: Cagnazzo
Void Torrent: A tankbuster that deals AoE damage in a line in front of Cagnazzo. All other players must stay away from the tank to avoid being clipped by it. Heal and mitigate as necessary.
Stygian Deluge: Partywide damage. Heal and mitigate as necessary.
Antediluvian: Cagnazzo forms six water bubbles around the arena with two forming at a time. After a delay, these bubbles will drop based on the order they formed and explode in a large circle AoE. To safely execute this mechanic, simply move to an area where no bubbles are present.
Body Slam: Cagnazzo will jump in place and knock players back a moderate distance. Body Slam is cast while Antediluvian is occurring, with the knockback happening after the second set of bubbles drops. Stay close to the boss to avoid being knocked back too far while also trying not go get knocked into the third set of bubble explosions.
Hydraulic Ram: A series of line and circle AoEs that rapidly spawn around the arena. Cagnazzo will move around the arena as these AoEs go off. The safe areas for this mechanic can be difficult to find, but as long as you steer clear of the dashes, the circle AoEs will be much easier to move around.
Hydrofall: A stack marker will appear over a random party member. All players must stack together and share the incoming damage. Heal and mitigate as necessary.
Cursed Tide: Cagnazzo becomes untargetable as each player receives a debuff. Three players will receive Neap Tide while the fourth receives Spring Tide. Meanwhile, four Fearsom Flotsams will spawn as Cagnazzo starts channeling power. Once the duty bar reaches 100, the party will wipe, so you need to destroy all Fearsome Flotsams to prevent this.
As soon as the flotsams spawn, each player with the Neap Tide debuff will have a targeted AoE appear above them. These players must spread out while also avoiding circle AoEs that spawn around the arena at the same time. Both the Neap Tide AoEs and random circle AoEs go off at the same time, after which the player with the Spring Tide debuff gets a stack marker over their head. All four players must then stack together and share the damage.
After soaking, all that’s left is to destroy the flotsams while dodging more circle Aoes and heal/mitigate the incoming partywide attack after the flotsams are destroyed.
Voidcleaver: Four void rifts will appear around the arena, with each rift tethering to a player. After a short delay, these rifts will shoot out a triangle AoE in the tethered player’s direction. To make this mechanic easier for the entire party, bait your triangle AoEs away from other players.
Lifescleaver: A series of triangle AoEs originating from Cagnazzo. You will need to stand on the safe spots while also baiting your Voidcleaver and dodging your allies’ AoEs if they baited poorly.
And that’s about it! Clearing this dungeon will nab you pieces of the Manalis armor set as well as a Wind-Up Cagnazzo minion and an orchestrion roll. Good luck with your Expert Roulettes!