
Meet Your Maker Building Guide: How to Design the Perfect Outpost

Building in Meet Your Maker is a pretty lengthy but rewarding process. This Meet Your Maker building guide will go over some high-level concepts about building that you should consider when designing your own Outpost. There are many ways to design one, but building an Outpost that’s engaging and challenging at the same time can be difficult without understanding what makes them work.
If you want to take your building game to the next level, here are four Meet Your Maker building concepts that will help you design better (and deadlier) outposts.
Meet Your Maker Building Guide:
Understanding Trap Value

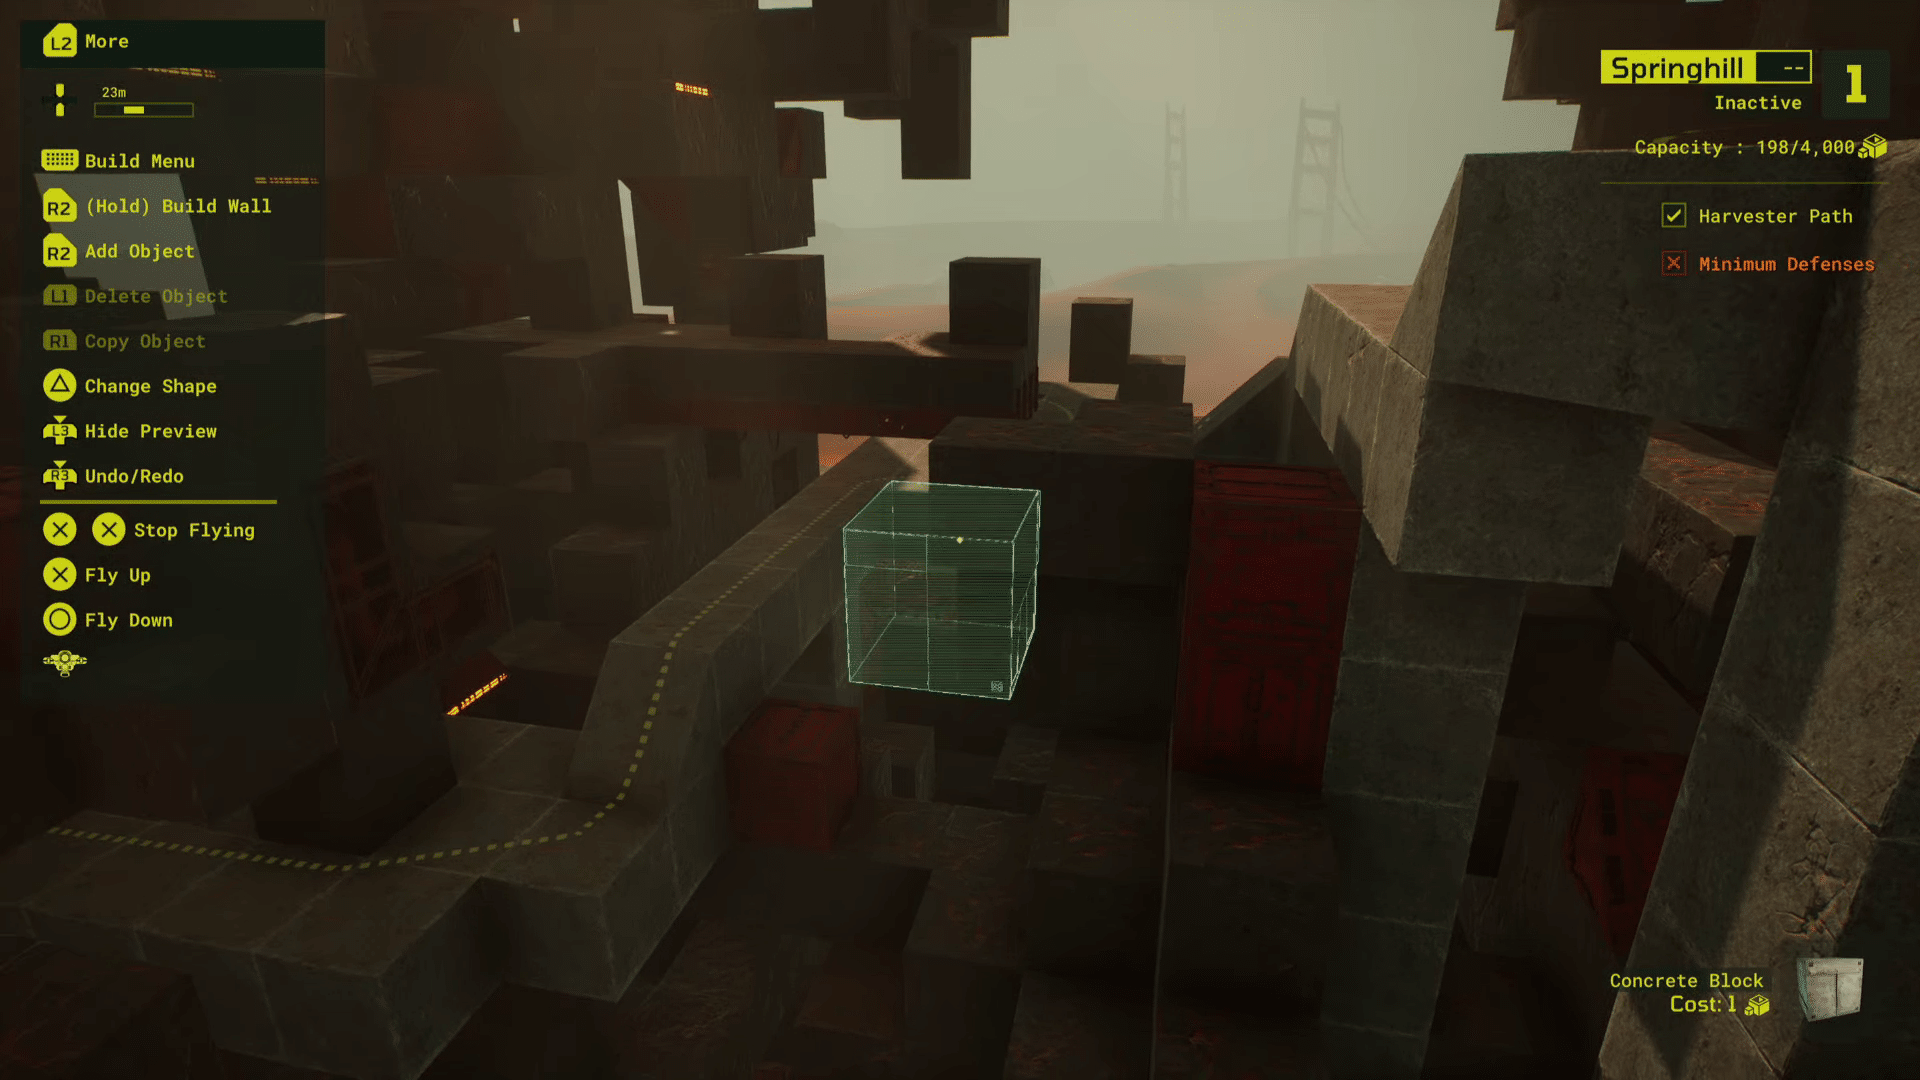
While all traps have a set price, not all of them are of equal “value.” To understand this better, consider two identical traps—one that’s placed in plain sight and one that’s sneakily hidden behind a blind spot. The obvious trap will be destroyed instantly, as the raider will have no trouble spotting it and avoiding it. On the other hand, the trap that’s hidden in the blind spot may end up killing the raider once or twice before they learn to clear it during future attempts. While both traps cost the same price, the latter has more value, as it netted you a kill while the former did not.
With this in mind, it’s always a good idea to try and set up high-value traps. These are traps placed in optimal positions that will increase the chances of killing the raider if they aren’t careful. Don’t just place traps along the floor of a hallway because you have the resources to do so—instead, find creative ways to hide them, or place them in such a way that it will become a challenge for the raider to deal with them, even if they’re aware of the trap the entire time (more on that later).
Mislead the Raider
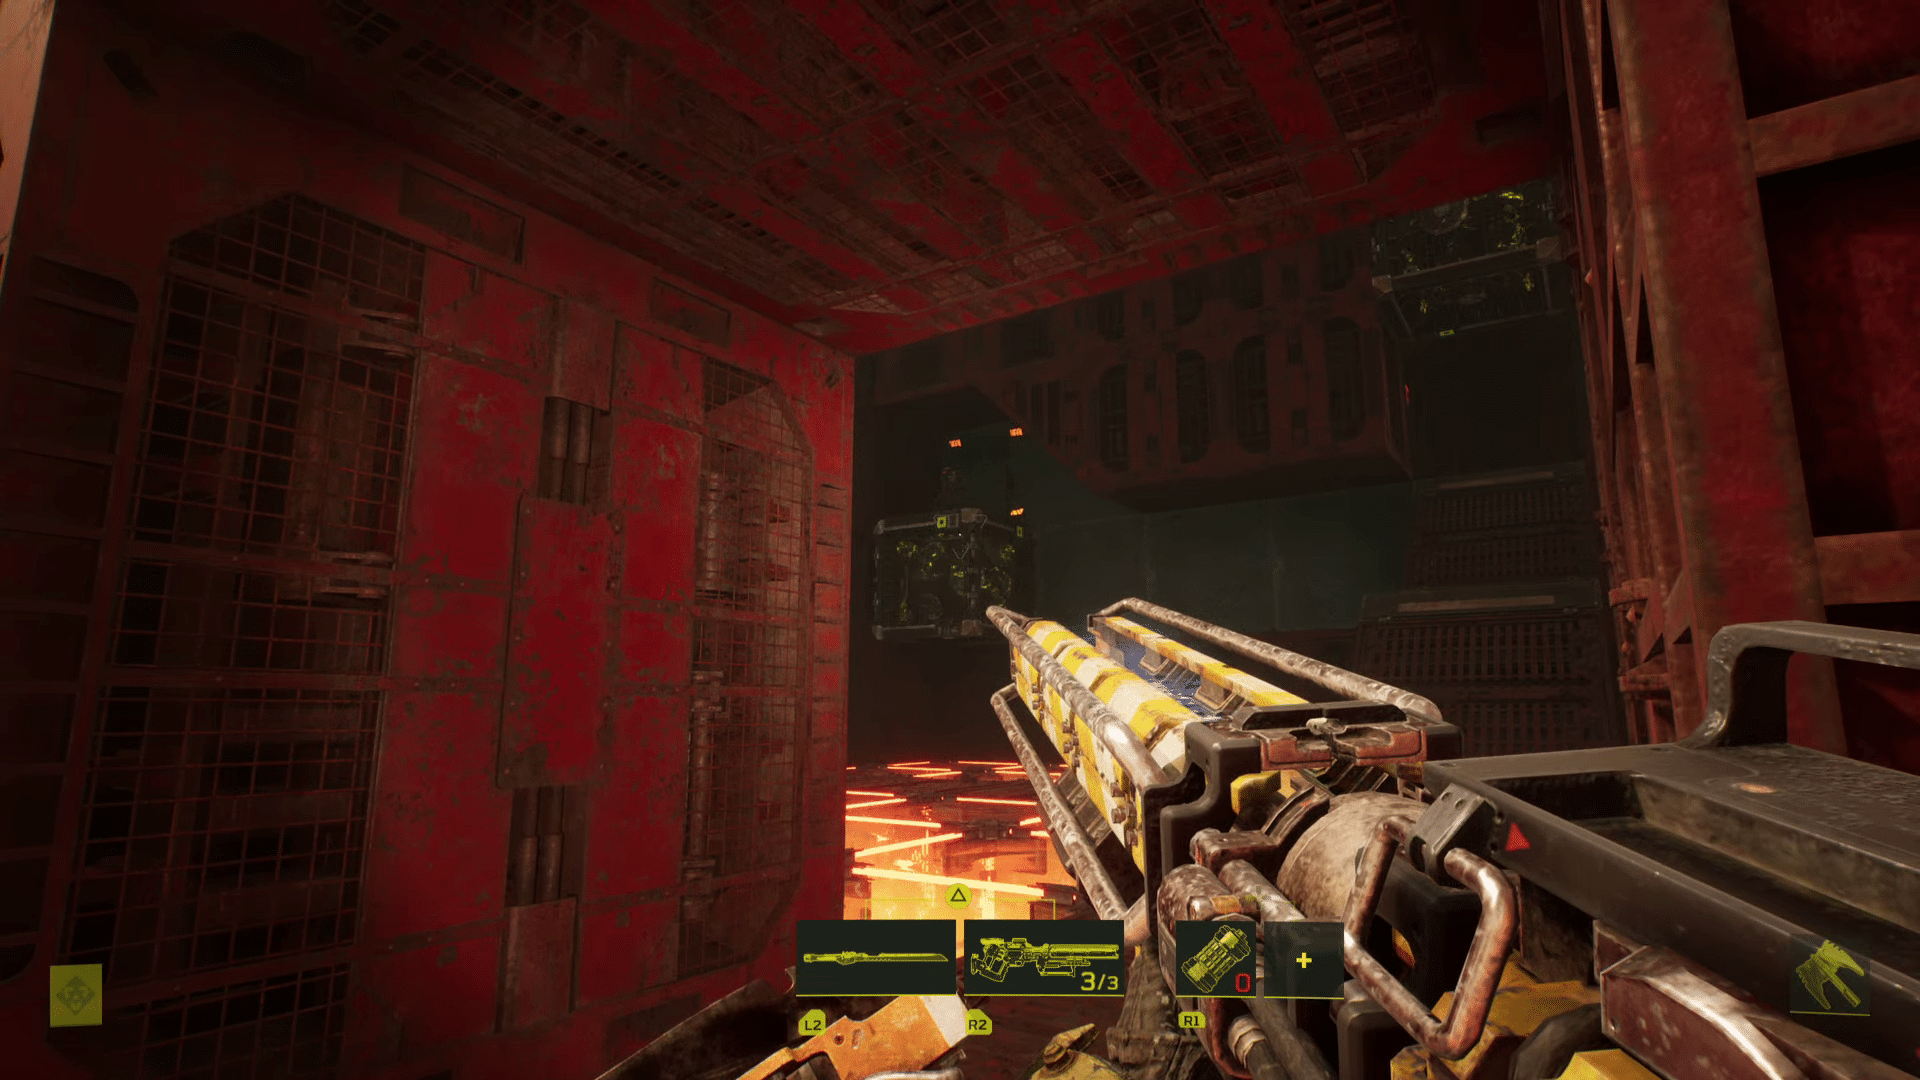
One interesting way to make your Outposts deadlier is by misleading the raider into certain scenarios. There are various ways to do this, but we’ll be talking about two methods: diversion traps and dead ends. Diversion traps are, as the term suggests, traps that exist to divert the attention of the raider. This sort of trap is not meant to kill the raider on its own; instead, it is there to draw the raider’s attention away from the true trap, which is more cleverly hidden from them. By using this approach, you can bait players into destroying a trap when in fact they’ve just walked into another one.
Another way to mislead the raider is through dead ends. Outposts don’t need to be a straightforward path; they can be entire mazes of corridors, hallways, and false leads that will make it difficult for the raider to find their way to the GenMat. Of course, it’s important to note that each Outpost has a Harvester, which will always travel the shortest possible distance to the GenMat, but if you place enough obstacles along the path, raiders will either kill the Harvester through collateral damage or lose track of it entirely as they’re too busy dealing with the traps and guards.
Consider the Raider’s Resources
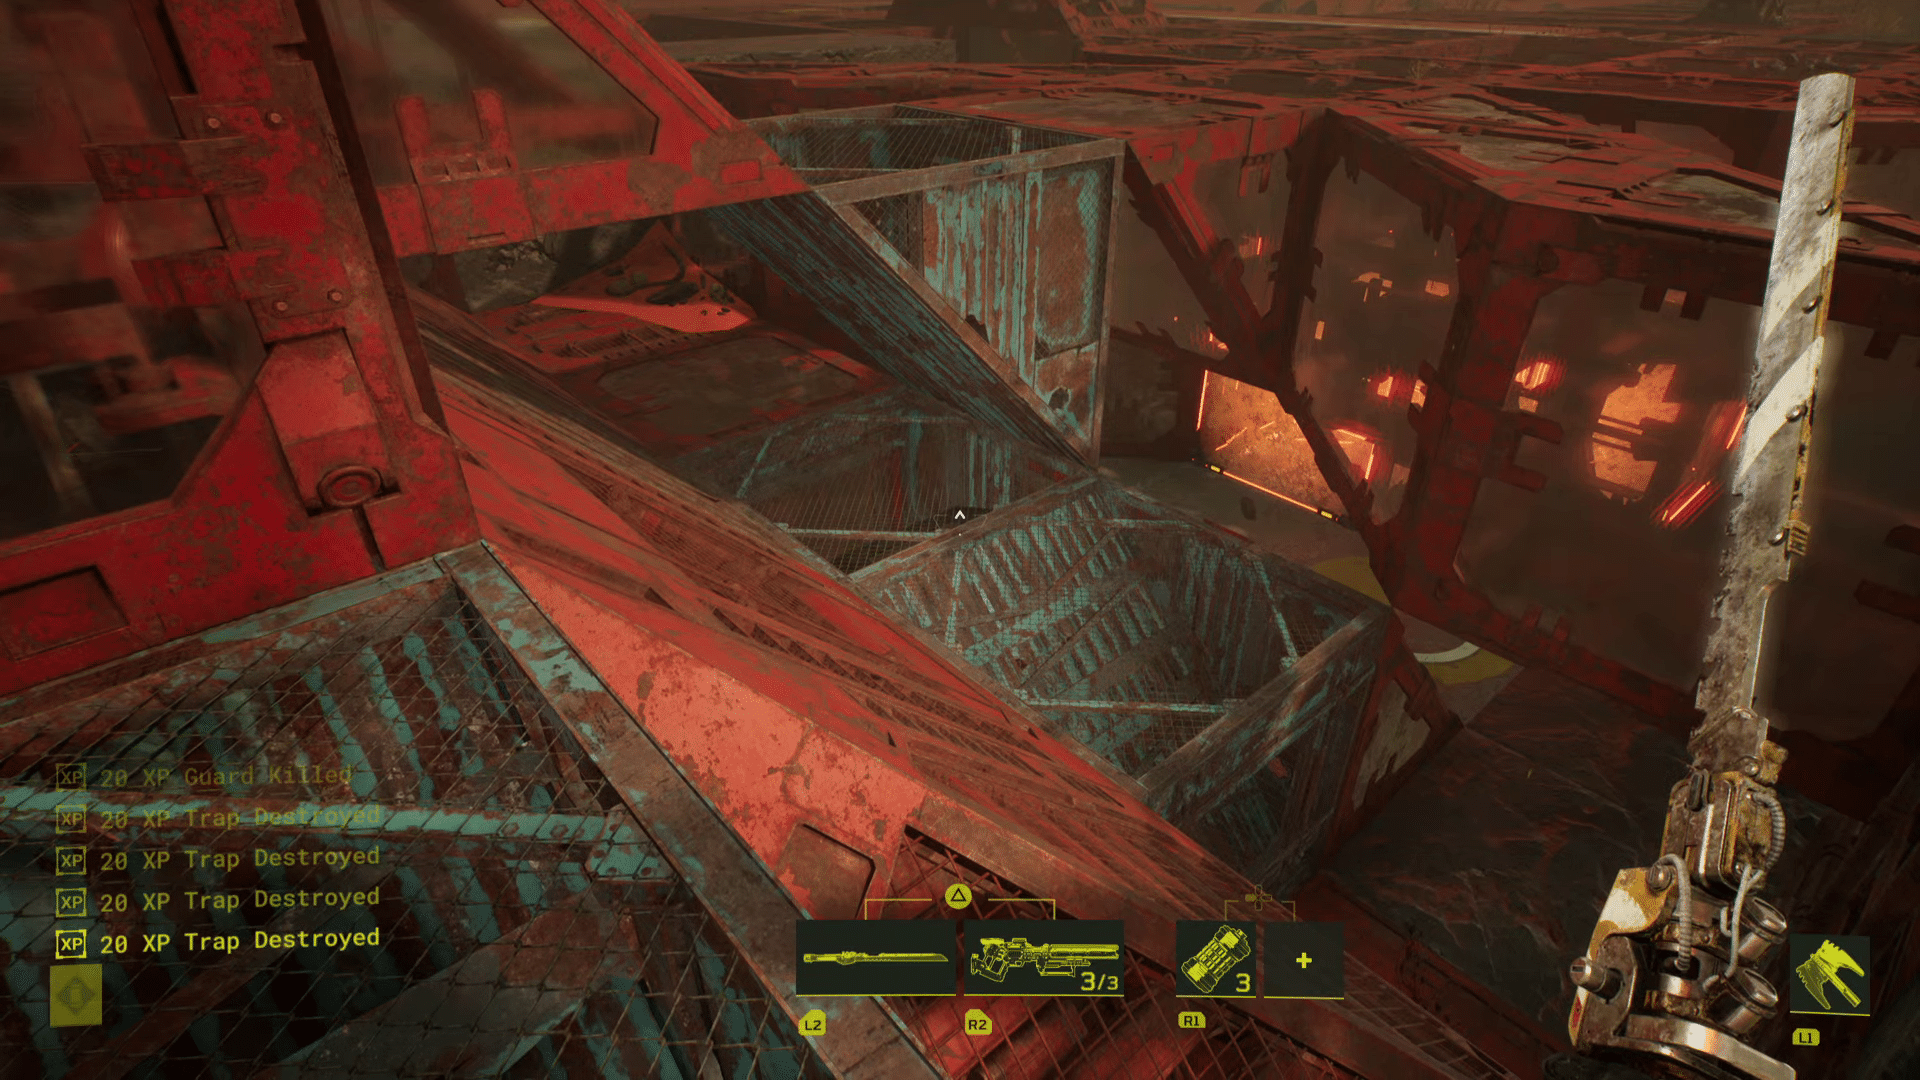
Raiders don’t start off with a whole lot of ways to take down traps. Aside from reusable ammo and consumables such as explosives, raiders often rely on their melee weapon to destroy traps. You can use this limitation to your advantage by creating scenarios where the raider must expend resources in order to progress deeper into the Outpost.
One great way of doing this is by placing traps over or near other traps. This will force the raider to take down multiple traps at a time or attempt to avoid them entirely. If the traps are placed at a distance, the raider will also need to pick up any ammo they use to disable the traps. You can also set up areas full of Guards that will make raiders want to use their consumables.
While raiders have all the time in the world to clear an Outpost, resources are a different matter entirely, and you can exploit this limitation to force raiders into making tough decisions.
Keep Raiders Invested

Finally, it’s always important to keep players invested in your Outpost. Lead them on by displaying the GenMat in plain sight, or make the Outpost just tough enough that they’ll want to die repeatedly in order to complete the raid. It can be tempting to set up killboxes, which are essentially just large rooms full of traps and Guards. And while killboxes certainly do what their name implies, raiders may quickly lose interest in your Outpost and abandon the raid instead of attempting multiple runs.
If you want to earn as many resources as possible, you’ll want to have many deaths in your Outpost, and you’ll want to keep the raiders interested enough in your Outpost for them to want to clear it in its entirety.
It can take hours to build a decent enough Outpost that players will want to try out, and these concepts should hopefully give you some sort of direction on how you want your Outpost to shape up.
Stay connected to MP1st and the latest news by following us on Bluesky, X, Facebook, TikTok, YouTube, and Google News.