
Wild Hearts – Karakuri Staff Weapon Guide

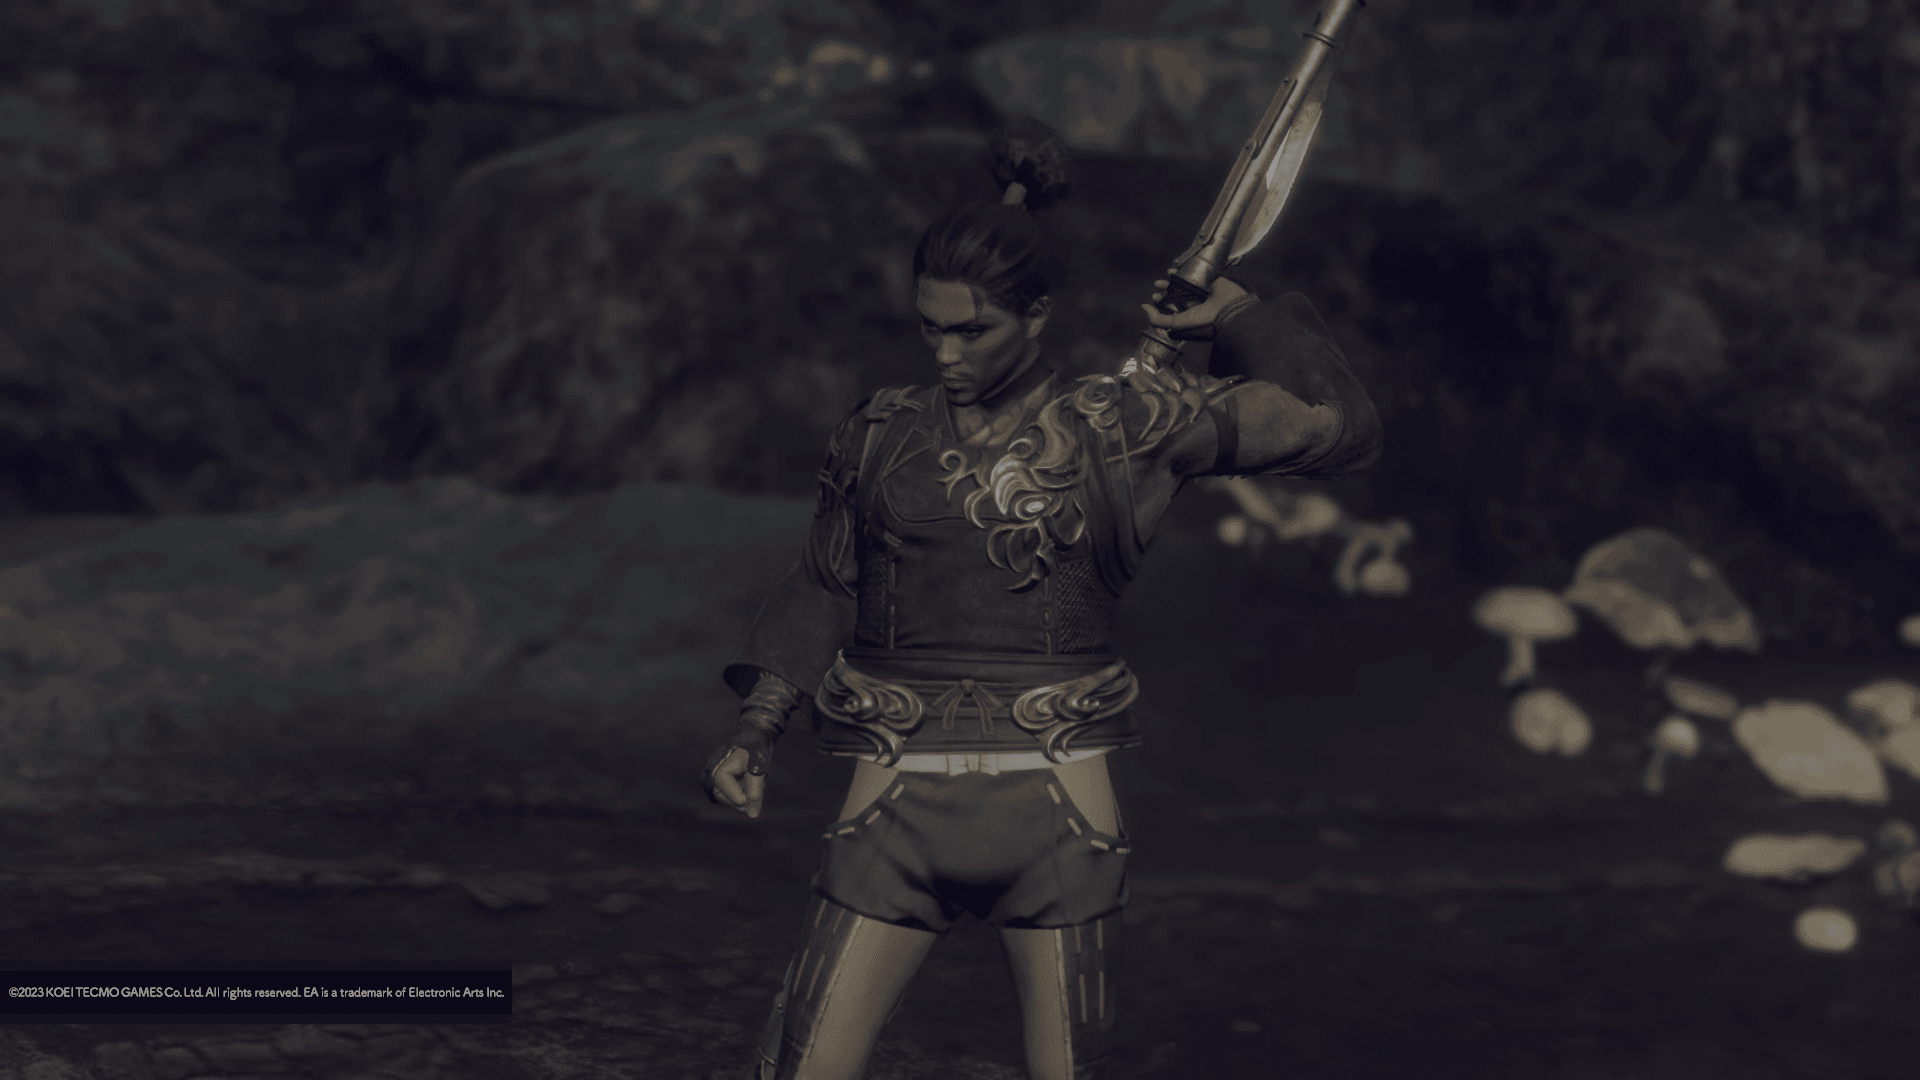
The karakuri staff, from a distance, appears to be an incredibly complex weapon, and though it does require a bit more practice than other weapon types in Wild Hearts, it’s actually a lot more straightforward than you think. In this Wild Hearts karakuri staff weapon guide, we’ll be demystifying this unique weapon, showing you its various combos and some hidden tech you may not know about.
- Related Reading: Wild Hearts – Maul Weapon Guide
Unlike previous Wild Hearts weapon guides we’ve made for the starting weapon types, this one will cover two additional karakuri, namely the Torch and Glider karakuri, as you will already have unlocked them by the time the karakuri staff is available to use.
Wild Hearts Karakuri Staff Weapon Guide
Overview
The karakuri staff is a weapon of many forms that “mutates” as you fight, slowly building power as you change through its four base forms. You can unleash its stored power through the Juggernaut Blade, the staff’s fifth and most powerful form, which does immense damage to kemono.
Your playstyle when using the karakuri blade involves mutating between forms to build your weapon gauge before spending it entirely on your Juggernaut Blade attacks. In a sense, it’s much like the karakuri katana, though you’re somewhat restricted to how you can build your weapon gauge.
Weapon Gauge
The karakuri staff’s weapon gauge features eight “levels” that you can fill up over the course of a fight. Upon successfully mutating your weapon by pressing R2 after an attack combo, you gain one level. Additional levels power up your Juggernaut Blade combo when used, and it also increases your overall damage output by a small amount. So even if you’re already at the maximum weapon gauge level, you can maintain it instead of spending it all right away and still do decent damage.
The weapon gauge doesn’t last indefinitely, however. Not mutating your weapon after an attack combo for too long will cause the gauge to deplete entirely. You will notice that the gauge flashes to indicate that it’s about to expire. You can refresh the duration of your weapon gauge by simply mutating your staff with an R2 combo attack.
Square Button – Standard Combo
The karakuri staff has four different square combos based on the current form of your karakuri staff. These either have one, two, or three attacks in the combo, with the final attack allowing you to mutate with R2 immediately after. Mutating in this manner will increase your change your weapon’s form and automatically start the first Square attack of that new form. Landing this attack will increase your weapon gauge by one level.
Note that the number of attacks required to reach the end of your weapon combo depends on the weapon form as well as what “sequence” you’re in. Don’t worry, this will be explained later.
Triangle Button – Power Attack
Pressing Triangle executes a power attack, which deals decent damage and does not have any follow-up attacks, unlike the Square button. Each of the four base forms has its own power attack, with all of them having more reach than your standard Square attacks. Staff, Twin Fangs, and War Pike power attacks also move you forward a certain distance, whereas the Giant Shuriken power attack throws the shuriken from a distance.
These attacks are useful for starting fights, but they’re not optimal when mutating your weapon mid-combo.
R2 – Mutate
Pressing R2 mutates the current form of your weapon. Doing so without attacking will simply change your weapon’s form in a particular sequence, that being Staff > Twin Fangs > Giant Shuriken > War Pike > Staff and so on.
When pressed following an orange glow that emanates from your body after landing certain attacks, you will not only mutate your weapon’s form but also immediately execute a Square attack of that new form.
Unsheath Attacks
Pressing Triangle or Square while standing still, running, or sprinting and having your weapon sheathed allows you to execute special attacks.
While running or sprinting, pressing Square unleashes a Staff attack.
While standing still or running, pressing Triangle unleashes a stab with your War Pike.
While sprinting, pressing Triangle causes your character to throw out the Giant Shuriken.
You can use these unsheath attacks to enter a desired weapon form from the get-go.
Karakuri Staff Sequences
When you mutate your weapon, it doesn’t just transform randomly. Rather, it follows one of two sequences, and the sequence you’re currently in affects the order of weapons you mutate into as well as how many attacks you must do with a given weapon before mutating (some attacks, such as Staff attacks, do more than one hit per button press).
Sequence A: 2 Staff, 3 Twin Fangs, 1 Giant Shuriken, 1 War Pike
Sequence B: 2 Staff, 2 Giant Shuriken, 1 Twin Fangs, 3 War Pike, 1 Shuriken
By default, you will always start at Sequence A. The only way for you to enter Sequence B is to use R2 following a War Pike attack in Sequence A. As a result, you can enter Sequence B almost immediately by entering the fight with your weapon already in War Pike form or via a moving attack while sheathed.
Both sequences have their own advantages and disadvantages. Sequence A is great for stacking up gauge levels quickly, whereas Sequence B is slower on the buildup but offers more overall damage per second, especially with the War Pike combo.
Karakuri Moves
The karakuri staff has special moves when used in conjunction with the four base karakuri, with each one transforming your weapon into a different form. You can press R2 following the karakuri attack to trigger a unique follow-up attack that grants two levels to your weapon gauge. The follow-up attack doesn’t actually give you an R2 prompt, so you’ll need to execute the weapon’s Sequence A combo afterward to trigger it.
The crate-based attack unleashes the War Pike followed up by a Twin Fangs attack.
The spring-based attack unleashes the Twin Fangs followed up by a War Pike attack.
The glider-based attack unleashes the Staff followed by a Giant Shuriken attack.
The torch-based attack unleashes the Giant Shuriken followed up by a Staff attack.
Much like the unsheath attacks, these karakuri-based moves are great for entering a specific form.
Juggernaut Blade Attacks
To expend your weapon gauge levels, you simply need to press R2 + Triangle, and this executes a deadly set of attacks with your weapon in Juggernaut Blade form. Note that doing so at 0 levels is possible, but it does minimal damage and has a long animation time, so it’s generally not worth using.
Pressing R2 + Triangle will execute the Juggernaut Blade combo, but the number of attacks that you can do in this combo depends on your weapon gauge level. Here’s what the combo looks like with all eight levels:
If you have 1-3 levels when pressing R2 + Triangle, you’ll only execute the first attack of this combo. Similarly, pressing R2 + Triangle with 4-7 levels only executes the first two attacks.
There are also two special Juggernaut Blade attacks that you can execute with R2 + Triangle with certain karakuri, though you need at least four levels on your weapon gauge to execute them. Doing so will use four levels of your gauge regardless of how many levels you have.
On a crate or glider, pressing R2 + Triangle executes a downward slash.
On a spring, pressing R2 + Triangle executes a wide cleave.
These are your hardest-hitting abilities, so you’ll want to use them as often as you can whenever you build enough weapon gauge levels.
In Action
When hunting kemono, your first order of priority is to always maximize your weapon gauge. Doing so will increase your overall damage output and allow you to execute your Juggernaut Blade attacks when you see an opening.
In an actual fight, you won’t often get the opportunity to expend your weapon gauge levels freely. As such, you’ll either want to expend them on faster-hitting karakuri-based Juggernaut Blade attacks (via the spring, glider, or crate) or simply keep the levels at the maximum level for the persistent damage increase. Once the kemono is knocked, that’s your chance to hit R2 + Triangle and slice it with your Juggernaut blade.
The karakuri staff can seem like an incredibly complex weapon to get into, but it’s actually far more straightforward than you think. By learning the sequences and waiting for the right time to use your Juggernaut Blade, you’ll be well on your way to mastering this mutating weapon.
Check out our Wild Hearts guides for more stuff like this.
Stay connected to MP1st and the latest news by following us on Bluesky, X, Facebook, TikTok, YouTube, and Google News.