
Wild Hearts – Nodachi Weapon Guide

It wouldn’t be a monster hunter game without a huge sword, and Wild Hearts’ very own nodachi weapon definitely fits the bill. While the nodachi is a little slower than other weapons, it offers surprisingly good mobility compared to Monster Hunter’s greatsword. With well-timed dodges, careful movement, and a bit of luck, you can dish out tons of damage without having to wait for the boss to fall over. In this Wild Hearts nodachi weapon guide, we’ll delve into the ins and outs of this giant blade.
- Related Reading: Wild Hearts – Katana Weapon Guide
Do note that as with every weapon, you unlock more moves as you progress through the story. As this can be a bit of a spoiler to some, we’ll only cover the karakuri moves that you can pull off via the crate and the spring, which you gain access to fairly early on in the game.
Wild Hearts Nodachi Weapon Guide
Overview
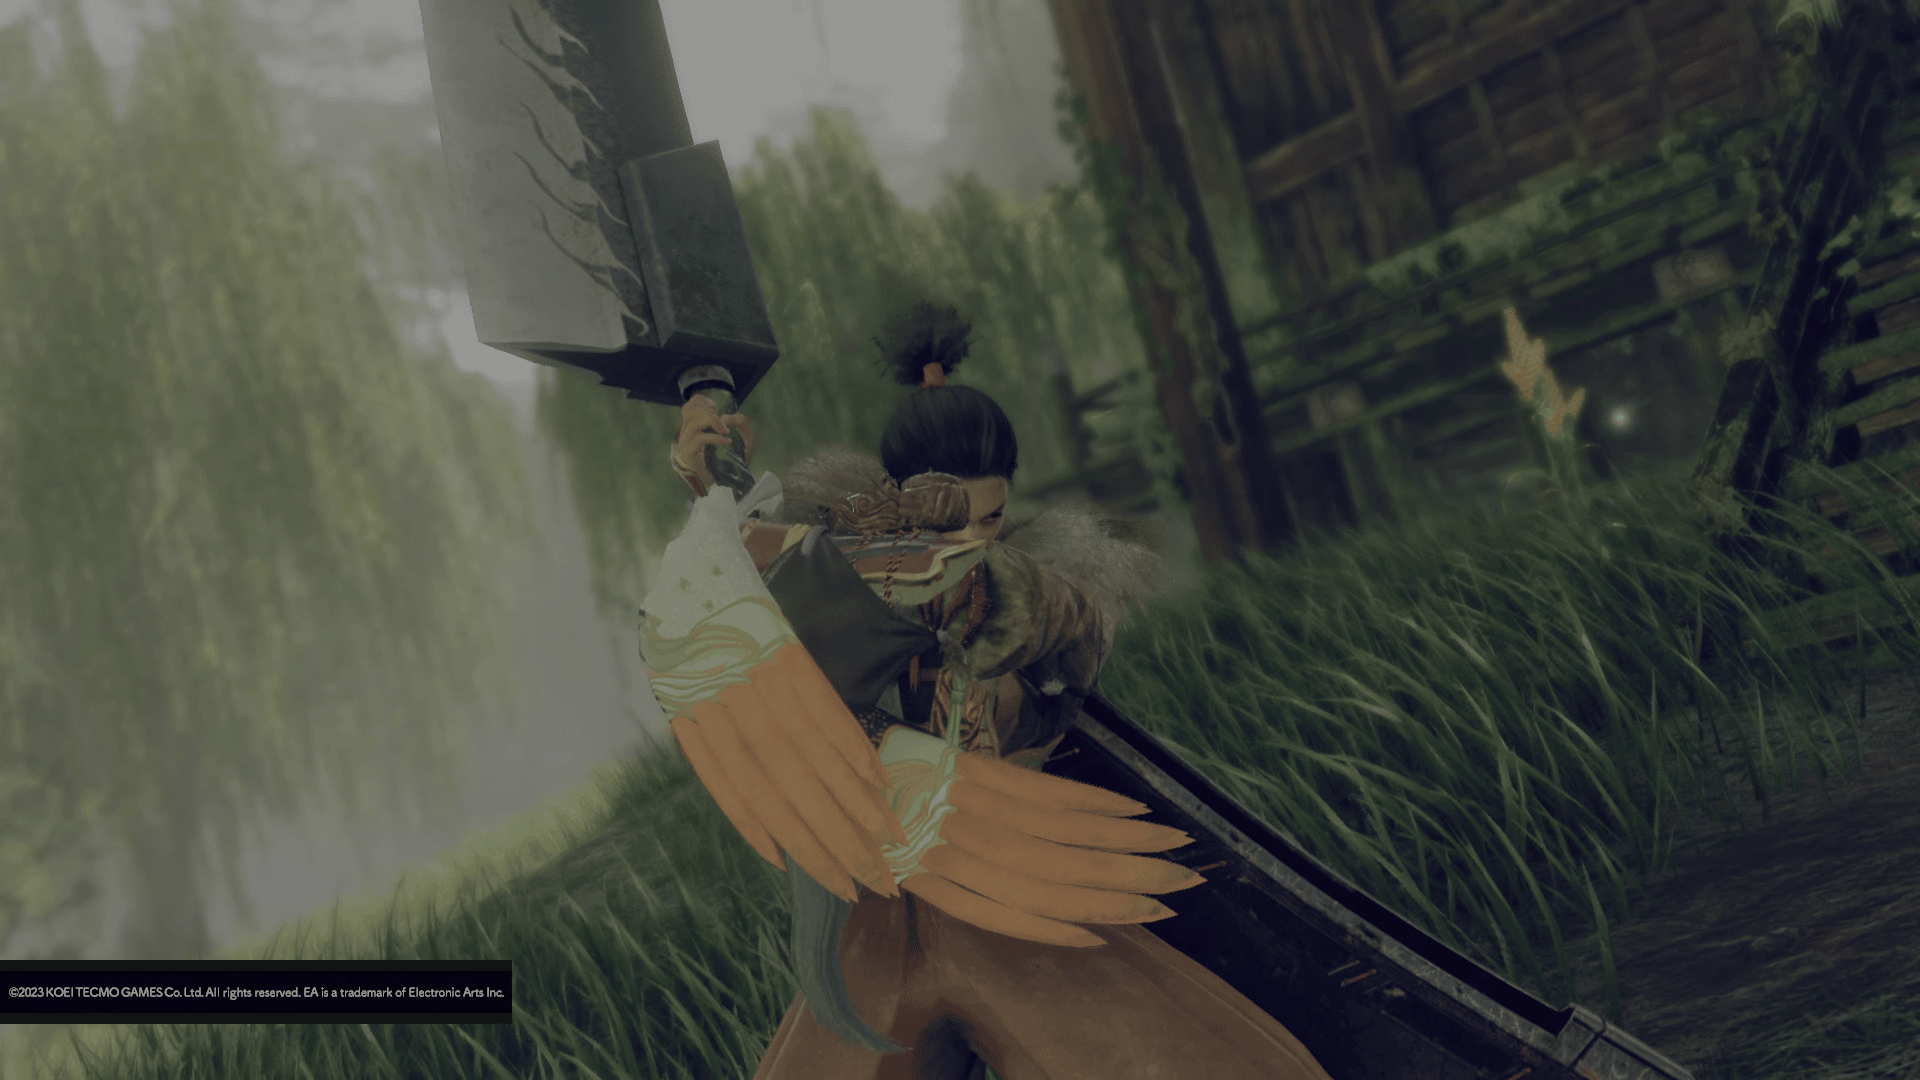
The nodachi is a large, single-edged sword that excels at dealing large amounts of damage with few hits. Its signature move, Bisection, deals massive damage to kemono, but requires you to build up the weapon gauge by charging it. This results in a playstyle that’s more focused around maximizing your gauge while avoiding kemono attacks before unleashing the fully-charged slash in one fell swoop.
What makes the nodachi a surprisingly easy weapon to get into is the fact that you can move and even attack while charging. Charging takes up stamina, however, so you’ll need to be watchful of your stamina bar while using this weapon.
Square Attacks – Downward Slashes
Pressing the Square button executes downward slashes. These three attacks deal increasing damage, with the third and final slash dealing the most. They’re basic slashes with not a whole lot of animation time, making it ideal for small amounts of damage here or there. Alternatively, it can be used to charge your nodachi, as we’ll see later.
Triangle Attacks – Roll/Receding Slashes
Unlike the Square button, the Triangle button doesn’t execute a combo. Instead, it causes your character to do either a roll slash or a receding slash, depending on whether you’re moving or not. The roll slash is executed by pressing Triangle + moving in any direction, causing you to move in that specific direction.
On the other hand, if you don’t move at all, you will instead execute the receding slash, which causes your character to move backward while dealing damage. It’s great for dealing damage while avoiding attacks, but the distance you cover isn’t huge, so keep that in mind.
R2 – Iai Stance
Holding down R2 causes your character to enter an iai stance, where the nodachi is sheathed. Holding R2 while in the stance builds your weapon gauge, and releasing it executes one of three attacks: Lighting Slash, Whirling Blade, or Bisection. These attacks scale in power, with Lightning Slash dealing the least damage and Bisection dealing the most. You can tell when the resulting attack is “upgraded” while charging when you see the visual indicator or hear the associated sound effect.
Aside from Bisection dealing the most damage, it also creates a massive shockwave that deals damage in an area. The shockwave does less damage than the slash itself but does give you more range, so you may still tag the kemono with it even if it moved during the downswing.
The downward slash is also longer than it seems, and you can clip the kemono with it even if it looks like it’s just out of range, so don’t be afraid to let go of R2 if you’re running out of stamina.
Note that regardless of stance, holding R2 will drain stamina, and once you run out, the charge will whiff and you’ll be animation locked briefly. You’ll also lose the gauge entirely upon being hit or interrupted by a kemono.
When you hold R2, you will first enter the Planted Iai Stance, which causes your character to stand still and charge the nodachi. This offers fast weapon gauge buildup at the cost of standing still, which can leave you vulnerable to kemono attacks.
Moving or dodging while charging your nodachi makes you enter the Full Moon Iai Stance instead. This is great for repositioning or dodging attacks at the last second, but the weapon gauge buildup is slower in this stance. You can return to the Planted Iai Stance by stopping all movement and standing still.
One other way to build up your weapon gauge is by executing Square or Triangle attacks. Successfully landing attacks will build up the gauge quickly, and you can fill the gauge almost completely with a 3-hit Square combo. You need to ensure that the attacks land, however, as you won’t build up the gauge if you miss the attack.
Effective use of the Iai stance revolves around standing still when possible and moving at the last second to dodge kemono attacks. While you won’t get a lot of openings to attack while charging, they’re great for quickly filling up the gauge after knocking the kemono prone.
Karakuri Moves
The nodachi has special moves when attacking from a crate or a spring. The crate-based attack executes a plunge that does lots of damage, and you can even use it to fill your weapon gauge if you were holding R2 before jumping onto the crates.
The spring-based attack executes a horizontal leap that cleaves in a wide area around you. It covers a lot of distance, however, so you may miss your mark if you’re too close to the kemono before leaping.
Finally, if you hold R2 before leaping onto a spring, you can let go of it to execute “Soaring Slash Streak,” a chain of two horizontal cleaves. These attacks don’t do as much damage as Bisection but can be executed without the long animation, so it’s worth using if you want to close the gap and you’re fully charged.
Because you can charge your weapon gauge while executing these attacks, they’re all fairly handy, though you’ll need to have the karakuri built beforehand as you can’t build and charge at the same time.
In Action
The nodachi’s playstyle revolves around charging your weapon gauge and unleashing Bisection as much as possible. You can be aggressive by using Square and Triangle attacks while charging with R2, but you need to ensure you don’t get interrupted by attacks, screams, and the like. Timing is important with the nodachi as you’ll want to roll away at the last second to maximize charge time.
You can take advantage of the kemono’s wind-up animations to charge your nodachi uncontested. For example, if you notice the kemono ready to charge at you, simply put down crates to block its assault and charge from behind. Once the kemono headbutts onto the crates, jump above or move around the karakuri and release R2 for sweet, sweet damage.
Though a bit slower than other weapons in Wild Hearts, the nodachi offers good damage while still leaving room for mobility. It’s definitely not as difficult as it seems, and with enough practice, you’ll be bisecting kemono like butter in no time.
Check out our other Wild Hearts guides and content over at our game hub.
Stay connected to MP1st and the latest news by following us on Bluesky, X, Facebook, TikTok, YouTube, and Google News.